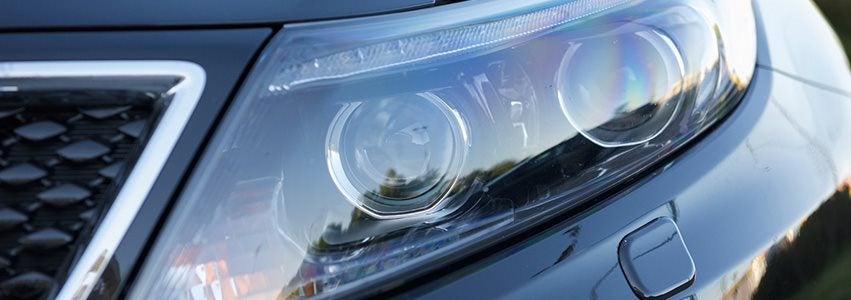
Modern headlights have many advantages but they are more likely to become cloudy or yellow. For the past decade or longer, the average car headlight lens has been made with clear polycarbonate instead of glass. While this material is quite durable and lightweight, it does have one major drawback. Over time, the material will become cloudy and then yellow from exposure to the sun’s UV rays and the elements. Cracking, or as it is properly known, “craze” can also occur. This further reduces how much light passes through. Below you will find differnet ways of how to clean headlights on your car.
Once this happens you have two choices: You can replace the entire assembly by ordering Nissan headlights from our DeLand Nissan Parts Store, or learn how to clean and restore clarity to the lenses. There are several different ways to restore clarity. Here we look at the basic toothpaste method and one more that is a bit more involved, but more effective in the long run.

Clean With Toothpaste
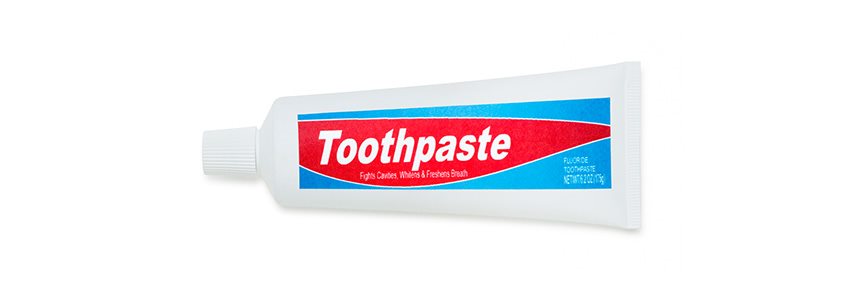
One inexpensive method of cleaning your headlight lenses is to use toothpaste. This may be the least expensive method. However, you should be aware of two things. First, it will not remove heavy grime or cracks from your headlights. Also, you will need to clean them often if you want them to stay clear. The process is simple, using more elbow grease than product. For this method you will need:
- Regular non-mint, non-whitening toothpaste (these types of toothpaste can damage the polycarbonate)
- Several soft clean cloths
- A supply of clean water
- Headlight polish/sealant
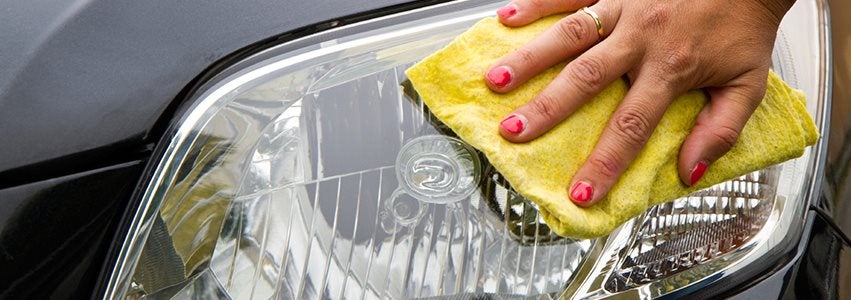
Simply apply the toothpaste to a clean dry cloth and buff the surface of the headlight in a circular motion. Continue until the lens is clean and clear. This is where the elbow grease comes in, as the cloudier the lenses are the more work it will take. Rinse completely clean with fresh water and allow to dry, or use a cloth to dry. Seal by applying the headlight polish with a clean dry cloth.

Buff Scratches Away
This method is far more effective for headlights that show extensive cracking. The term “cracking” does not mean the headlight lenses are actually cracked, only that the outer surface has a spider web-like appearance. Properly buffing should remove this. You will need the following materials:
- Soap
- Water
- Towel
- Sponge
- Glass cleaner
- Several clean soft cloths
- 1000 and 1600 grit wet/dry sandpaper
- Rubbing compound
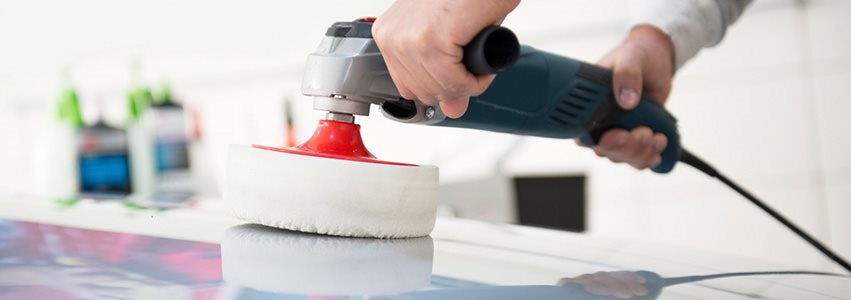
- An electric buffer is optional
- Blue masking tape
Start by washing the headlight lenses and drying the entire area. If there is any residue left on the lenses go ahead and clean them again using the glass cleaner. Now mask off all areas around the lenses to protect them during the rest of the process.
Starting with the 1000 grit sandpaper dipped in water, sand the lenses by using a circular motion and working in small sections. Now use the 1600 grit paper by dipping it in water and sanding using a circular motion in the opposite direction. Stop when lenses are clear and then use the rubbing compound on a soft cloth to buff the lenses and remove any scratches left by the sandpaper.

Protecting Your Headlights
After you have restored your polycarbonate headlight lenses to new, you can protect them from further damage.
At the factory, they coat the lenses with a protective layer. By the time you need to clean and restore them, this layer is long gone. Even if some is left, it won’t be by the time you finish cleaning the lenses and restoring them to full clarity.
There are several different sealing products on the market that you can use to coat and seal your freshly restored headlight lenses. Follow the directions on these products very carefully to get the most clarity and protection. Most are simply wiped on with a clean soft cloth and allowed to dry. Others may need you to allow them to dry and then you can buff them to restore full clarity.
Remember to let these products dry completely before washing your car or getting the lenses wet in any way. This will allow them to give the best level of protection and keep your headlights shining bright.
The end results will vary, depending on your headlights’ condition before you start, and the amount of work you are willing to put in. Whichever method you choose, give yourself time to do it thoroughly. Then all you have to do is wait for nighttime to come so you can really notice the difference.


